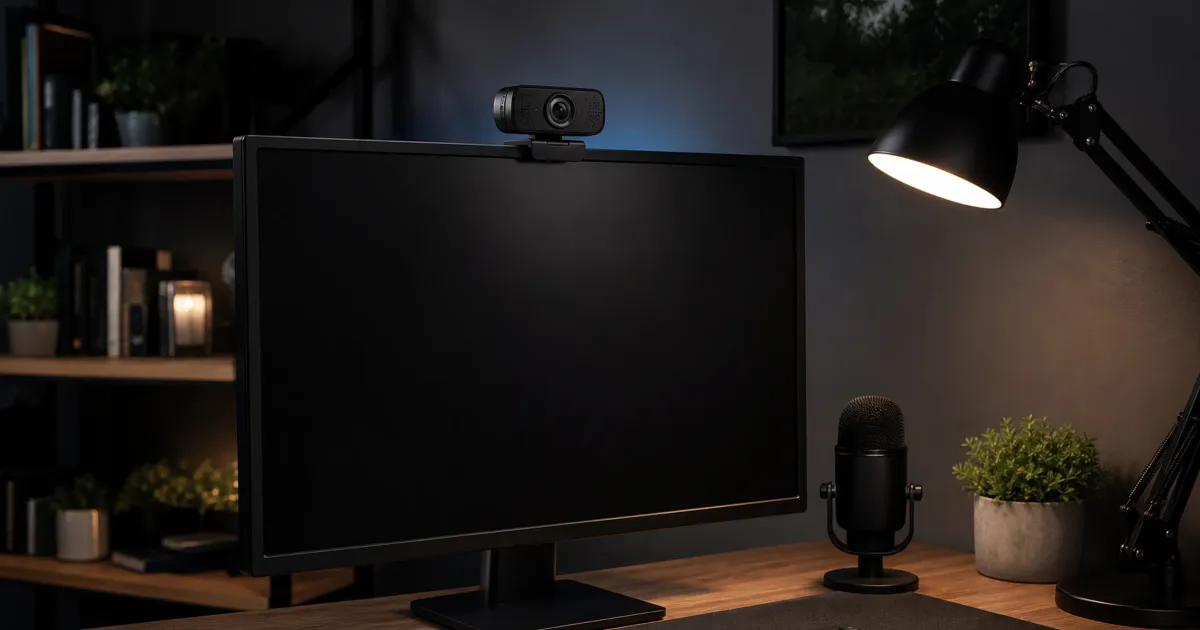
The best webcam for low-light video calls is the one whose documented modes, USB path, privacy control, and room lighting match your call or stream. Auto-light correction can help exposure; it cannot create detail that a dark room never provides. Test the camera at your intended resolution inside the actual meeting or streaming application.
Low light is a room-and-settings problem
Webcam marketing often treats “low light” as a single property. In practice, the camera exposure, sensor, lens, autofocus, frame rate, processing, background brightness, and application all contribute. A bright window behind you can force a camera to protect highlights and leave your face darker. A dim room can trigger slower exposure or more noise-reduction processing. The same webcam can look different at 4K30 and 1080p60.
Start with one controllable light source placed in front of and slightly above you, not behind the monitor. Then select the meeting application’s actual camera mode and turn off virtual background effects during the first test. This does not make a lighting claim about either camera; it removes two common variables before you decide whether the webcam itself is enough.
Logitech Brio 4K for a privacy-cover call setup
Logitech documents Brio 4K with RightLight 3 automatic light correction, autofocus, selectable 65-, 78-, and 90-degree fields of view, and modes up to 4K30 or 1080p60. It also includes an attachable privacy shade. That makes it a reasonable choice when the call setup needs a visible lens-cover option and the computer supports the selected mode.
The same specification says the camera has no night-vision mode. Treat RightLight 3 as an exposure tool, not a promise of a clean image in a nearly dark room. Check whether the conferencing application selects 1080p60, 4K30, or a lower mode; the platform may cap the outgoing stream even if the camera supports more.
Elgato Facecam Pro for a higher-bandwidth desk
Elgato documents the Facecam Pro with a 1/1.8-inch Sony STARVIS CMOS sensor, f/2.0 aperture, variable autofocus, USB 3.0 Type-C, and 4K60 capability. Its Camera Hub software includes maker-described low-light and noise-reduction controls. Those are concrete reasons to consider it for a creator desk that already has a USB 3.0 path and a separate microphone.
The requirements matter. Elgato lists operating-system and host guidance, and the product has no built-in microphone. A laptop connected through a slow hub or a meeting app that accepts only 1080p can make the 4K60 headline irrelevant. Confirm the port path, cable, application, and mount before treating the camera as a streaming upgrade.
Match the lens, mount, and privacy control to the room
A wider field of view includes more of a background, which can be useful for a whiteboard or instrument but can also make a small room look dimmer. Start narrow enough to keep the face large in frame. Use a stable monitor clip or tripod thread, then check whether autofocus keeps up when you lean forward or show an object.
Privacy is separate from app permission. A physical shutter or shade gives you a visible lens state; an operating-system camera permission controls whether software may access the device. Use both. If a camera has an indicator light, verify its behavior from the manual instead of assuming it signals every possible access path.
A low-light call test that produces useful evidence
- Place a soft light in front of the face and turn off bright backlighting.
- Record a short test at the application mode you will actually use.
- Move from the usual sitting position to the closest and farthest speaking position.
- Check face exposure, autofocus, background noise, and whether the app lowers frame rate.
- Test the privacy cover or shutter and confirm the camera permission behavior.
- Save the firmware and app version with the room setup notes.
This test is deliberately narrow. It tells you whether a given camera works in your room; it does not establish a universal low-light ranking.
Verify the complete USB path before blaming the camera
The webcam’s published mode is only one part of the connection. A laptop port, cable, adapter, dock, monitor hub, operating system, and application each can limit the available mode. For the first setup, connect the camera with the supplied or documented cable directly to the intended computer. Confirm that the operating system sees it, then select it inside the call or streaming application. Add a dock only after the direct path works.
If the picture drops frames, freezes, or falls back to a lower resolution, record the selected mode and simplify the path one component at a time. A USB 3.0 requirement is not met merely because a port has a USB-C shape. Check the host’s published specification and the webcam maker’s current support requirements. Avoid diagnosing the issue from a badge or cable color alone.
For a streaming desk, test the webcam alongside the capture devices, storage, and audio interface you plan to use. Available bandwidth and processor load can change when several peripherals are active. For video calls, verify what the service actually sends to other people; a local preview can be sharper than the transmitted meeting feed. These are setup facts, not a universal performance ranking.
Use lighting and framing to make modest hardware useful
A small front light generally has a larger effect on a face than changing from one automatic-exposure webcam to another. Place a diffuse lamp just above eye level and slightly to one side, then soften or move it if it creates glasses glare. Keep a bright window or lamp out of the background where possible. This is a practical starting arrangement, not a statement that one lighting layout suits every skin tone, room, or camera.
Set the camera at eye level, choose a stable mount, and leave enough distance for the focus range documented by the maker. Frame the face with some room above the head and avoid pointing the camera at a door, family space, or sensitive paperwork. A narrower field of view can reduce distracting background and makes available light cover more of the subject. Recheck the frame after opening the conferencing app, because apps can crop differently from the camera utility.
Create a short pre-call checklist: lens clean, privacy cover open, correct camera selected, front light on, virtual background disabled if it creates artifacts, and audio device checked separately. That routine makes a low-light setup repeatable and gives you a clear way to notice a firmware or software change that alters the image.
Keep privacy and support settings reviewable
Install the webcam utility only if its controls solve a real setup need, such as a documented field-of-view, exposure, or firmware setting. Review the permissions it requests, and keep the installer source and version in the setup note. Camera utilities can be helpful, but a utility window is not evidence that the selected settings are the ones used by a meeting application; verify in the call software itself.
Check firmware and support notices periodically, especially after an operating-system update or an unexplained connection problem. Before changing settings, record the working resolution, field of view, cable path, and lighting arrangement. Then make one change at a time and repeat the same short call test. This approach produces a recoverable configuration rather than an opaque collection of sliders.
When the webcam is not in use, close its physical cover if supplied and unplug it if that is the appropriate privacy practice for the space. Do not assume the cover is present or behaves the same on every revision; confirm the exact model documentation. Clear ownership of the camera account, laptop permissions, and physical setup matters as much as its advertised low-light mode.
Keep the mounting surface clean and the cable strain-relieved. A camera that sags, vibrates, or disconnects during an ordinary call cannot be judged fairly on its exposure or autofocus behavior.
Record a short clip after any physical move. A new monitor height or lamp placement can change the framing, backlight, and focus distance more than a software setting does.
Related reading
Pair a video setup with the right audio path in our USB vs. XLR microphone guide. Browse the Tech Science Review guide library for related creator setup decisions.
If the choice is between two USB-led creator workflows, compare Shure MV7+ and Elgato Wave:3 MK.2 for calls and streaming.
Frequently Asked Questions
Is 4K always better for a low-light video call?
No. The meeting app may send a lower resolution, and the room’s light can matter more than a maximum camera mode. Test the exact call platform and use a modest front light before paying for 4K capture.
Does a privacy shutter replace operating-system camera permissions?
No. A shutter or shade controls the lens physically; permissions control software access. Use a physical cover when you want the lens blocked and review the operating-system permissions separately.
Sources
- Logitech Brio 4K specification: https://hub.sync.logitech.com/brio/post/brio-brio-4k-specifications-BJKhhCqWmecRhPD
- Elgato Facecam Pro specification: https://help.elgato.com/hc/en-us/articles/10290429808653-Elgato-Facecam-Pro-Technical-Specifications
- Elgato Facecam Pro product page: https://www.elgato.com/us/en/p/facecam-pro