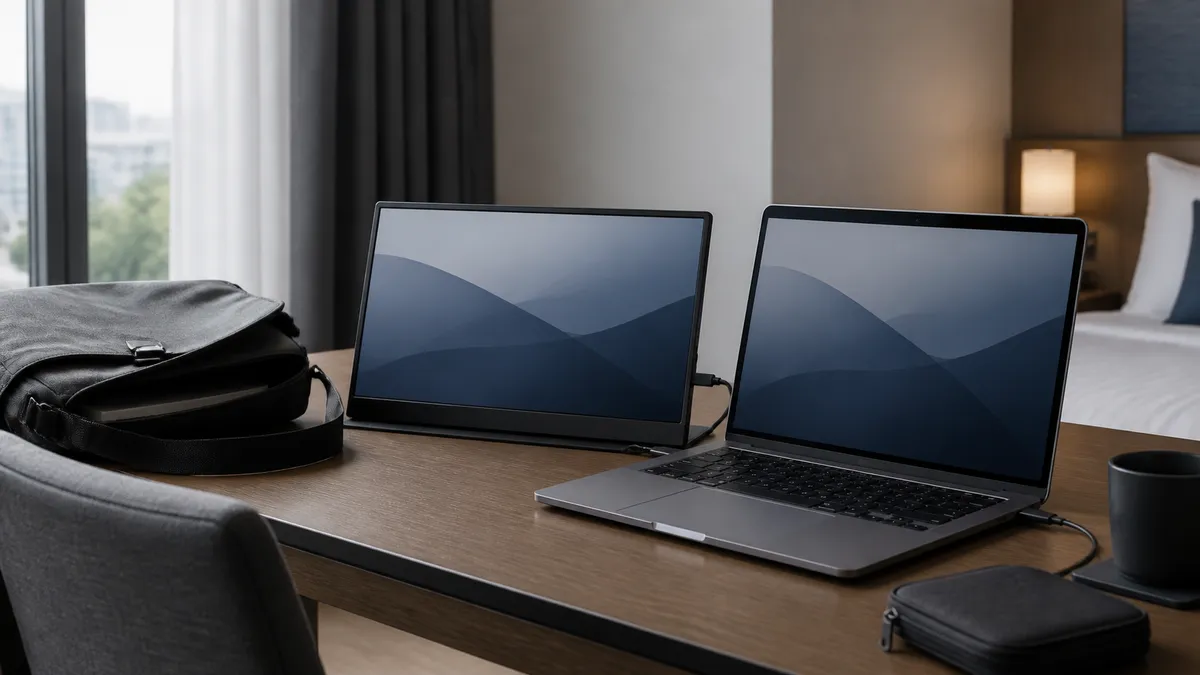
A portable monitor can fit neatly beside a laptop until you open its stand and plug in the cable. The screen then moves forward, the connector meets the laptop, or the mouse loses its patch of desk. Measure the monitor in its working position: chassis width, open stand depth, and connected cable clearance are three separate checks. A paper mock-up can expose the squeeze before you rearrange the whole desk.
Start with the desk space you actually use
Put the laptop where you normally work, with its lid open. Leave the keyboard, mouse, charger, notebook, and anything else that must stay within reach in place. Measure the remaining space beside the laptop and record that usable width.
Write down the clear width and depth of that space. A shelf support, lamp base, desk lip, or wall trim can narrow it at a different height from the desktop. Check the proposed position with the laptop lid at its usual angle, too: a screen that fits beside a closed laptop may overlap the open lid.
If you use an external keyboard, make the first sketch with that keyboard in place. Moving it out of the drawing makes the monitor look easier to accommodate without solving the layout you will actually use.
Separate screen size from the space around it
The advertised screen diagonal and the monitor’s outside width describe different measurements. Use the manufacturer’s chassis dimensions for the outline, and keep the stand and cables as separate marks on your sketch.
For example, MSI lists its PRO MP161 E2 as a 15.6-inch display with outside dimensions of 362.26 × 233.84 × 18.8 mm. The same specification page lists a tilting stand and L-shaped cables. Those entries identify different parts of the desk-space question; the opened stand needs its own depth measurement. See the MSI specification sheet.
Draw a rectangle using the outside width of the monitor you own or are checking. Label any dimension you cannot establish from its documentation as unknown. Avoid replacing an unknown open-stand depth with the packed thickness just to finish the drawing.
Open the stand before measuring depth
If the monitor is already on hand, place it on the intended surface and open the stand according to its instructions. Measure from the frontmost point to the rearmost point at the angle you intend to use. Note where the stand contacts the desk, especially if a desk lip or cable opening sits behind it.
Use manufacturer photographs to understand the stand’s arrangement and dimensional drawings to establish its size. ARZOPA’s Z1RC documentation, for example, describes landscape and portrait use. If you intend to change orientation, check both arrangements instead of assuming the same outline covers them. Consult the model documentation for the supported arrangement.
For a monitor you have not bought, ask the manufacturer for the opened footprint if it is missing. Ask specifically for the footprint at the intended position, including the opened stand.
Add the connectors and the cable route
Mark which side of the monitor has the port you will use. Then trace the path to the corresponding laptop port, including any separate power lead. A connector needs space outside the chassis; the cable also needs a route that does not pull against the plug or require a sharp bend.
Use the actual cable when possible. A straight plug and an angled plug leave the port differently, and an angled connector may point toward the desk rather than toward the laptop. Follow the cable maker’s handling instructions rather than assuming a universal bending allowance.
Check the laptop end as well. A cable that clears the monitor can still interfere with a mouse, block another laptop port, or pass through the space where you put your notebook. Check video compatibility separately; our USB-C cable label guide explains that separate check.
Test the complete outline
Use paper or removable markers to show the chassis, stand, and cable route together. As a hypothetical example, a 36 cm-wide chassis in a 40 cm gap leaves 4 cm in total before accounting for connectors. A side plug or the laptop lid may consume those remaining 4 cm, so add them to the sketch before deciding whether the monitor fits.
Compare a position on each side of the laptop. Moving the display can shorten the cable path, but it can also move the stand into a lamp or leave less room for the mouse. Keep the same everyday objects in place for both comparisons.
Before committing to a position, check these five points:
- The open laptop lid and monitor chassis do not overlap.
- The stand rests fully on the intended surface in its documented arrangement.
- Both cable ends have room without pulling on their connectors.
- The mouse and keyboard retain the space you normally use.
- Changing screen angle does not push the stand or cable into an obstruction.
Keep the sketch with the model dimensions. If one measurement remains unknown, resolve that measurement before treating the arrangement as a fit. This checklist is a layout method, not a hands-on evaluation of either example monitor.